Tag Archive for: Tips

Tips To Take Better Pictures Of Your Pets

Tips To Take Better Pictures Of Your Pets Header

Tips To Take Better Pictures Of Your Pets

Taking better pictures of your pets is something most of us would love to do. On World Photography Day we thought we’d share some tips our sitters use when capturing that perfect pet picture. Whether it’s capturing your resident house panther (a black cat) or a speedy Italian Greyhound our sitters make sure to get your pets best side.

The best shots are taken from below or at the animal’s eye level.

There are exceptions to this but animals aren’t usually too fond of looking up. Getting down on their level or below provides the best shots.
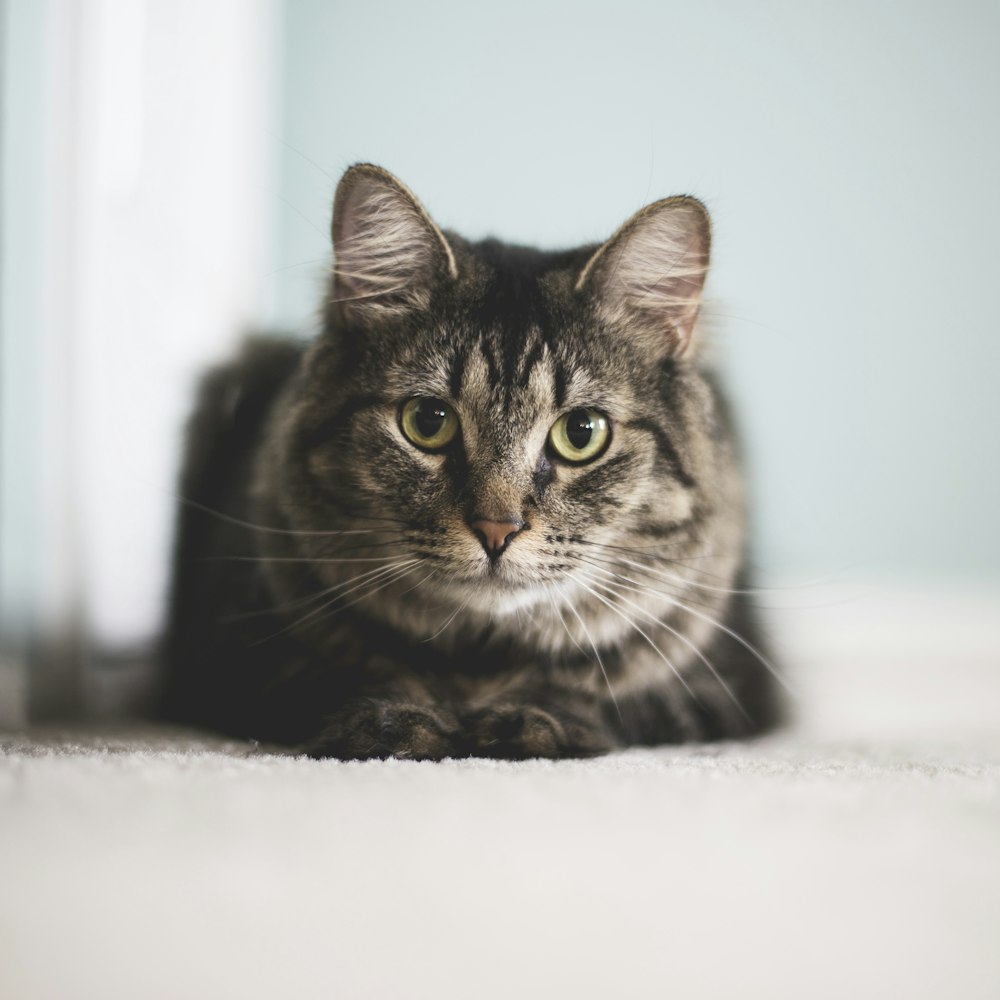
gray tabby cat

c: Kari Shea

This lovely kitty was captured with a Canon EOS 6D.

Use the rule of thirds

The rule of thirds is a basic composition technique to elevate your photos. If your camera doesn’t have a setting, imagine breaking the image up into 9 equal sized rectangles.

File:Rule of thirds photo.jpg

John R. Daily, CC BY-SA 2.5 <https://creativecommons.org/licenses/by-sa/2.5>, via Wikimedia Commons

Your subject shouldn’t be the exact center of the photo but rather off to the side a little bit. Nor should your subject fill the entire screen. Two-thirds is enough. Here’s an example captured on a Fujifilm X-Pro2 of a cat being slightly off-center but taking up two-thirds of the image.
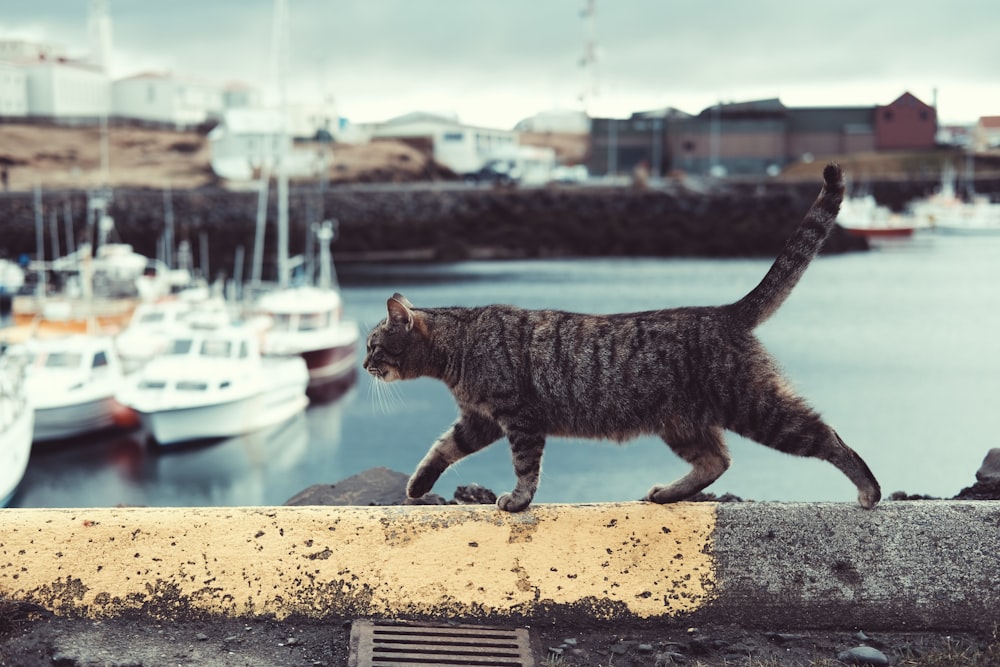
tabby cat on ledge

c: Timothy Meinberg

Focus on the eyes (especially with cats!)

Eyes are fascinating. They can contain many different pigments and really make an image pop. Think of how the Time Magazine cover featuring Sharbat Gula uses her eyes to really bring you in. You can do the same with animal photography.
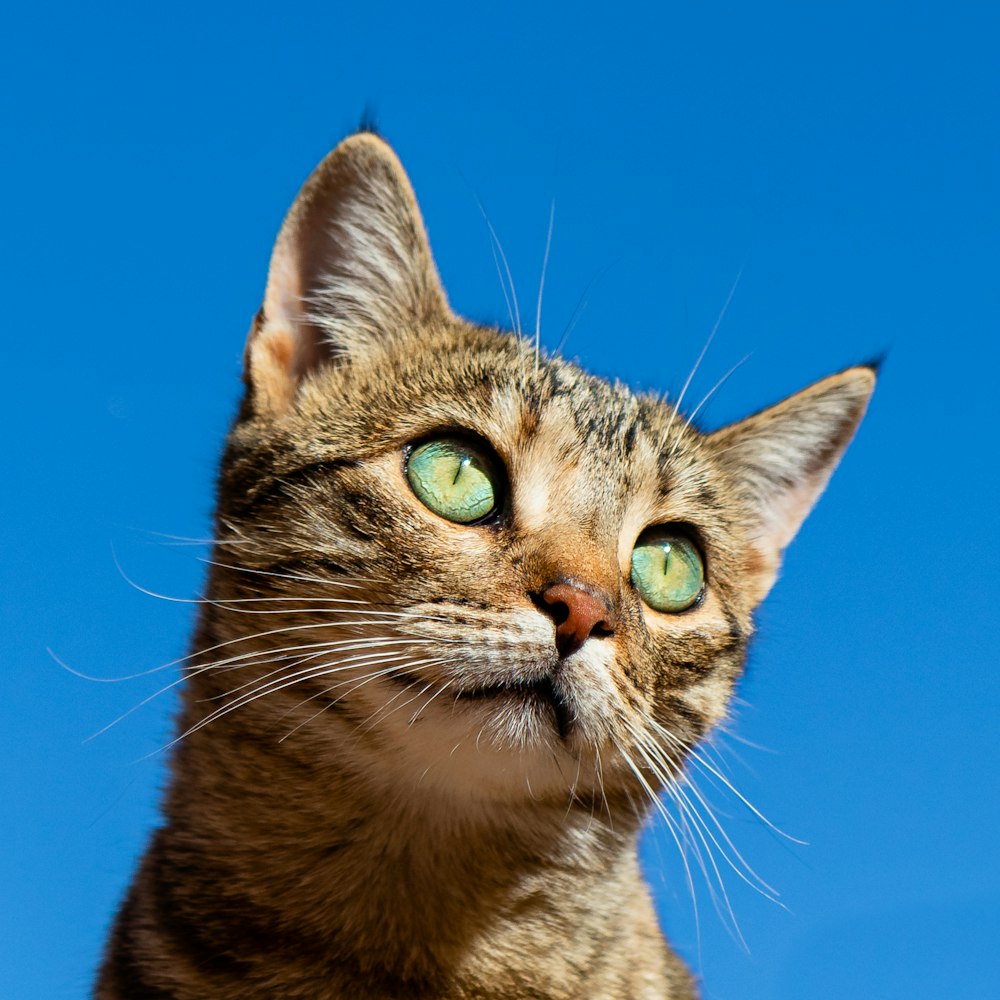
silver tabby cat eyes photo

@cedric_photography

Image was captured with a Canon EOS 77D.

Action shots are great but require a high-speed continuous shooting mode to get them in focus.

This can be jumping, leaping, running, or chasing a toy for example. If you’re not sure how to capture this without professional equipment, iOS has Burst Mode and can achieve the same thing.
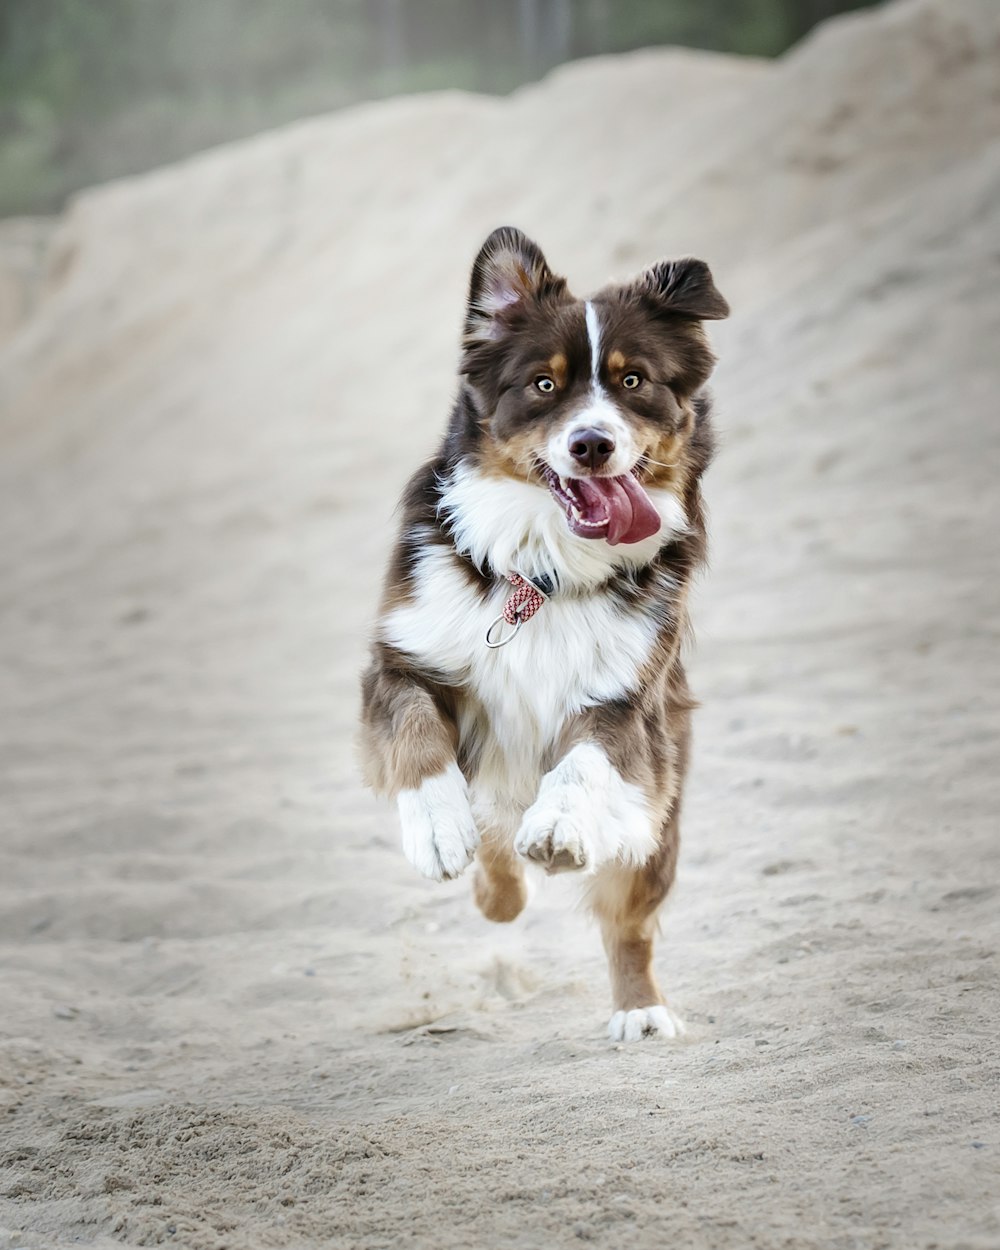
running white, brown, and black dog

@madamemenge

The image above was taken on a Nikon D750.

Portrait mode is great for keeping the subject in focus and the background not in focus.

This is another basic composition technique and is easily achieved by manually adjusting the focus on your lens. For those who aren’t using an actual lens, portrait mode is great for replicating this technique.
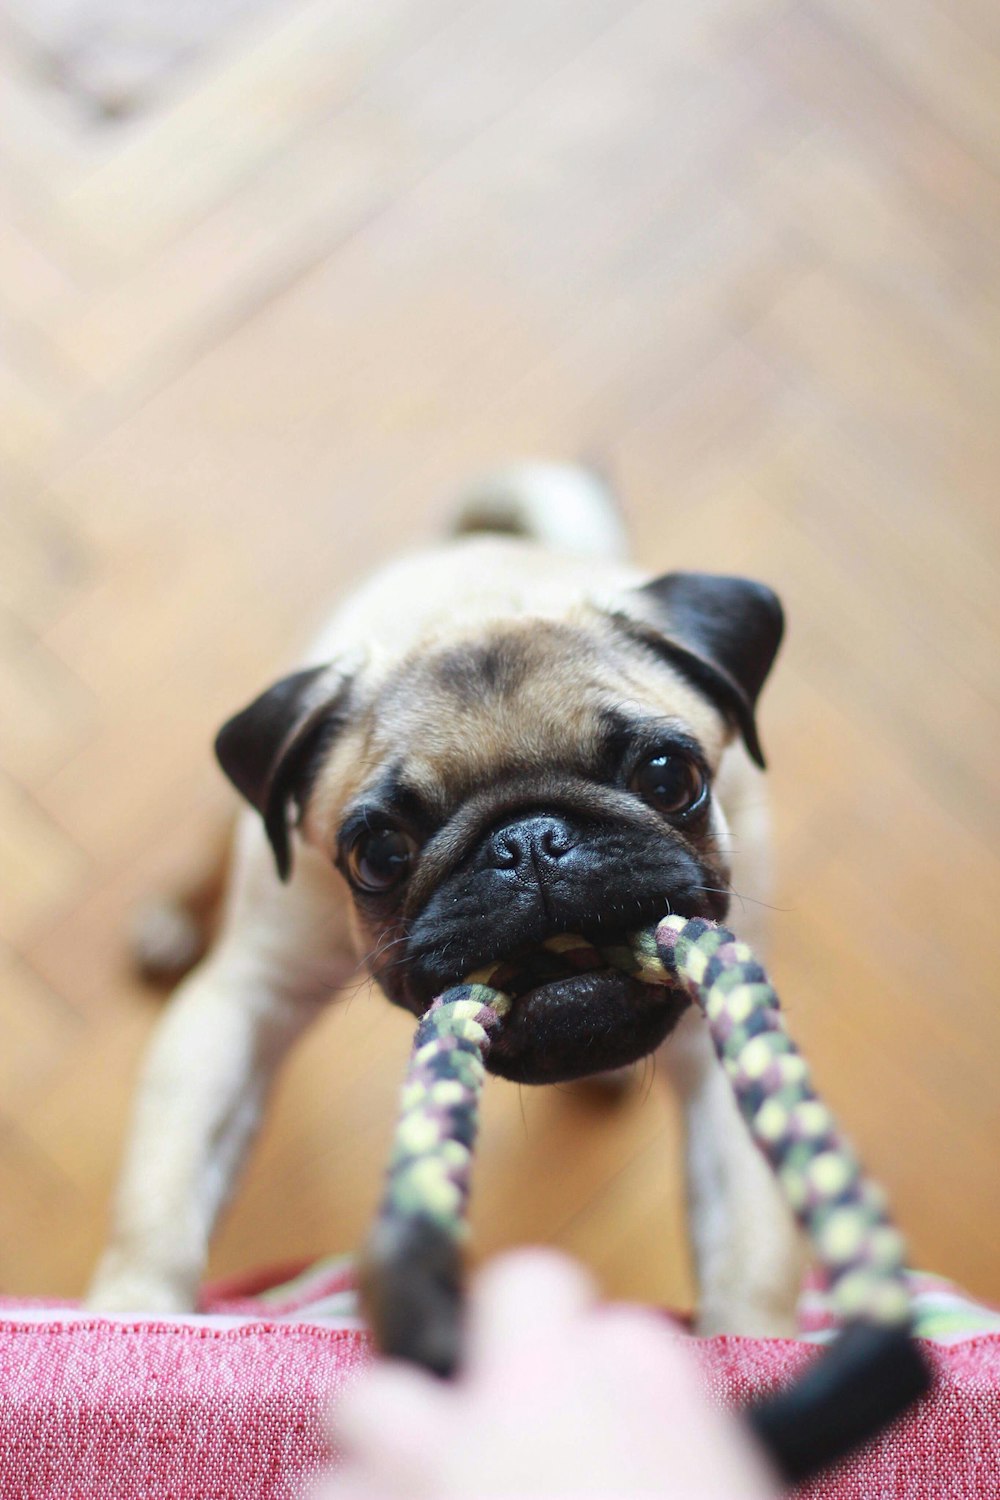
fawn pug biting rope

@darisja

Here’s an example of a person playing with a pug that was shot using portrait mode on an iPhone.

Struggling to get a subject to look at the camera? Treats!

Some pets just need a good ole fashion bribe of treats. Or a favorite toy to squeak. You have many options when it comes to getting your photo subjects attention. Even making a sharp trill noise works!
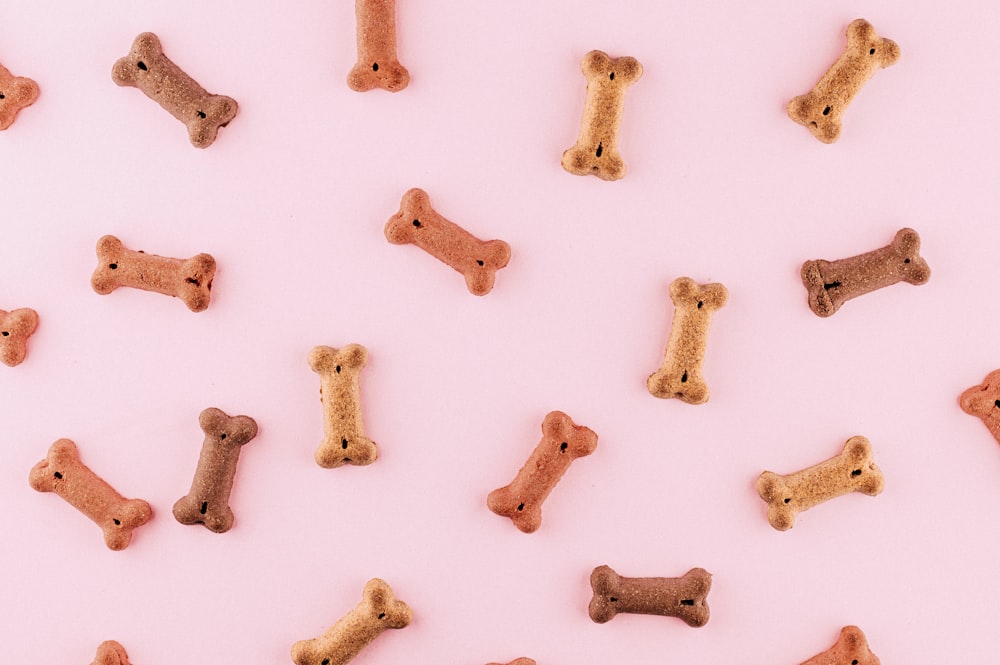
multicolored dog bone toys

c: okeykat

Conclusion

Everybody loves to take pictures of their pets. What makes those photos even better is when the shot is amazing. Follow our tips and you’ll be taking professional level pictures in no time! If you do a lot of phone photography, I highly recommend Cadrage which simulates different focal lengths and will take the photos all at once so you can pick and choose.

Do you have any pet photography tips? Let us know in the comments and share your pet photography with us @WetNosesPetSitting or #WetNosesPetSitting. We love to see cute pet pictures!

Cat Travel Safety Tips

Cat Travel Safety Tips

We know our canine companions often love to go for car rides, but what our our feline friends? Yes! Cats can enjoy car rides too. When traveling with a cat there are a few things you need to keep in mind that are different than traveling with a dog. Here are 7 cat travel safety tips you need to know.

1. Do not let cats wander in the car.

A kitty on the dashboard, your lap, or loose in the car is a safety hazard to you and your pet. Your cat should be contained at all times in the vehicle. You can contain your cat in a hard carrier to help keep them as safe as possible.

2. Do not strap a hard carrier in with a seat belt.

During an impact the seat belt may cause the carrier to open which can result in your cat being ejected from the carrier. Do not strap a hard carrier in with a seat belt unless it is designed to be.

3. There is no safe way to seat belt a cat carrier in if it is not designed that way.

There are cat carriers on the market that are designed to be used with a seat belt. Do not not use a seat belt with the carrier if it is not designed to be used with one.

4. Place kitty behind the passenger seat on the floor.

Placing the carrier on the floor behind the passenger seat is a safer option instead of in the passenger seat or on the backseat.

5. Check if your cat carrier is crash test rated.

There are cat carriers on the market that have been crash tested and rated. A majority of crash tested carriers are designed to be used with seat belts. These seat belt approved carriers are the only ones you should be securing with a seat belt.

6. Do not use broken carriers.

Cat carriers can last many years if taken proper care of. If you notice your carrier is starting to crack, missing screws, or the lid doesn’t seem to fit quite right anymore you should purchase a new carrier as the structural integrity of the carrier has decreased.

7. Manage stress and distractions.

A vocal kitty can be a distraction and we want you to travel with your cat as safely as possible. If you know your cat gets anxious and vocal in the car, consider talking with your vet about a light sedative to help keep them calm to and from your destination.

Cat Travel Safety Tips

Have you gone on a road trip with kitty? Let us know your travel experience in the comments or @WetNosesPetSitting

Should I Tip My Pet Sitter?


Should I tip my pet sitter? In the US we are taught to tip the waiter, taxi driver, valets and even the mailman at the holidays. But everyone wonders, “Should I tip my pet sitter?”

It is up to you!

Tipping your pet sitter is greatly appreciated, but it is not expected or required. Many of our clients do choose to tip their sitters, but this choice is made on an individual basis. Unlike waiters, our sitters are paid a reasonable wage without tips being included.

When to tip your sitter

Over the years we have seen many methods of tipping from our clients. Here are some ideas:

  • Tip at the end of visits.
  • Tip at the beginning of visits.
  • Tip only at the holidays.
  • Tip on occasions that you feel it is deserved!

Most clients choose not to tip before the first visit, instead of waiting to see how it goes the first time. This is also true when they get a new sitter.

How to tip your sitter

Should you decide to tip your pet sitter, there are a few ways to go about it.

  • We can add a tip to your credit card, before or after your visits.
  • Leave a tip for your sitter on the first visit.

How much to tip your sitter

Again, this is completely up to you. How often you tip will also affect the amount you choose to tip. Remember that any amount is appreciated! For our clients who tip regularly, we most often see a 10-20% tip for the sitter.

However much you choose to tip, that amount will go directly to your sitter. Our sitters never expect to be tipped, but it is nice when it happens!

Top Cures for Bad Doggy Breath


Canine bad breath is a frustrating problem for many owners. While frequent brushing and a veterinary dental cleaning may solve the problem, these are not good for your dog’s smelly breath today. Here is a list of my 3 favorite ways to quickly cure doggy bad breath.

Doggy Breath Freshening treats

Theses treats are sure to become a favorite among dogs and their owners. They are no bake, and coconut oil based. Coconut oil is a nutritious oil that is good for dogs hair, coat, nails and possibly immune system. The add ins for this treat make it even more nutritious and breath freshening.

Ingredients
  • 1 cup coconut oil
  • 2 tablespoons of diced fresh mint or parsley (or both)
  • 1 teaspoon of fish oil (Optional)
Directions

Start by melting the coconut oil in a saucepan or microwave. Once all the oil is melted, transfer it to a large bowl and add in the mint, parsley or both. Mix to evenly combine. For a flavor and health boost add a teaspoon of fish oil and mix to combine. Using a ladle, fill an ice cube tray with the coconut oil mixture. Place filled ice tray in freezer.

These treats can be fed frozen or allowed to melt a bit for a softer temperature. Feed 1 per day for small dogs and 1-2 per day for larger dogs.


Dental Chews

My dogs is very picky and does not find greenies treats very alluring so we found another breath freshening chew that is sure to please the most picky dogs. We love the Natural Balance brand dental chews. They come in a few flavors including sweet potato and duck, and chicken and papaya (yum) and are all natural ingredients. These chews do not last long (my dog goes through them in around 10 minutes) but there is a noticeable difference in his breath.

Raw Bones

A large portion of canine bad breath is due to plaques of bacteria on the dog’s teeth. Raw bones are a great way to clean the teeth of these plaques and therefore freshen breath. I most often feed portions of beef or bison femur or bison ribs. These very effectively clean my dogs teeth and keep him occupied for a long time. Raw bones are available at most higher end pet stores, or at a grocery store or butcher. Be sure to pick a bone large enough that your dog cannot swallow it whole and always supervise your dog eating the bone.

While doggy bad breath can ruin doggy kisses, these are 3 ways to help improve your dog’s breath. Bad breath can be a sign of a more serious health issue, so always check with a veterinarian if your dog has recurrent bad breath.

Getting Familiar with Kong Toys


Chances are you have heard of the famous dog toy, the Kong. Kongs are a great tool in the repertoire of any dog owner. They are great because they can be customized to fit you and your dog’s needs.

Some tips before getting started:

  • Buy the correct size (sized by weight of dog).
  • Buy one large enough for the largest dog in your house.
  • Supervise your dog while using the Kong to make sure they do not chew pieces off and eat them.
  • Wash the Kong after each use. They can be washed by hand or in the dishwasher.

Loading the Kong:

1. Start with a hard food such as treats or your dog’s kibble in the bottom third of the Kong.

2. The second layer is the flavors add on. This is something your dog likes to eat like fish oil, or coconut oil.

3. The next layer, that fills the last 2/3 of the Kong , is the soft layer. This can be any type of soft food. I like to use canned, wet food, cream cheese, peanut butter or dog safe baby food.

4. Top the Kong by sticking something in the soft layer, like a carrot or dental chew. In order to make the Kong last longer, you can stick it in the freezer.

5. To make a simple Kongscicle fill the Kong with chicken or beef broth and freeze it.
6. You can also buy Kong brand filler. It comes in a few flavors. This is good in a pinch but is not very healthy for your dog.


This toy is perfect for when you have to be gone for most of the day. Or even just rainy days that you want your pup entertained. It’s challenging, fun, and also rewarding.  Want to learn more about incorporating the Kong into training your dog? Check out these Training Videos for even more tips!

What are your experiences with this toy? Does your dog love it, did they shun it, or even destroy it? Let us know your stories in the comment section!